1、参考资料
文档:https://slint-ui.com/releases/0.2.1/docs/rust/slint/ 仓库:https://github.com/slint-ui/slint 模板:https://github.com/slint-ui/slint-rust-template 示例:https://github.com/slint-ui/slint/tree/master/examples VSCode插件:slint语法高亮并可以进行界面预览 https://marketplace.visualstudio.com/items?itemName=Slint.slint
2、建立项目
1
2
3
| [dependencies]
slint = "0.2.1"
|
1
2
3
4
5
6
7
8
9
10
11
12
13
| fn main() {
MainWindow::new().run();
}
slint::slint!{
MainWindow := Window {
Text{
text: "Hello, world";
color:blue;
}
}
}
|
上述是将界面slint代码嵌入在rust同一个文件中。
1
| cargo run --target i686-pc-windows-gnu
|
注:此处需要注意平台版本需要对应,如我的本机安装的是Qt mingw32版本,因此这里需要选择构建目标为:“i686-pc-windows-gnu”
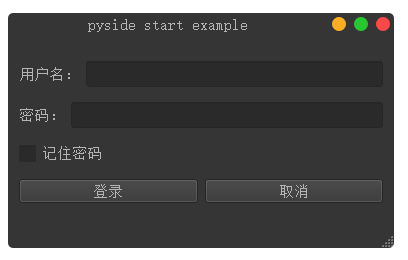
界面如下: 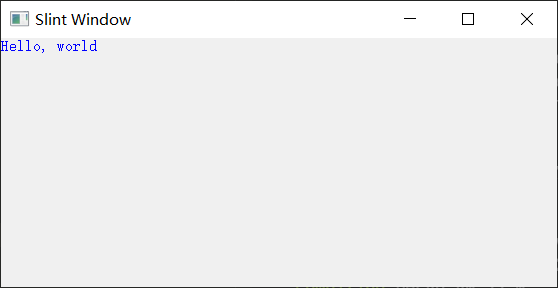
3、界面文件与rust代码分开
1
2
| [build-dependencies]
slint-build = "0.2.1"
|
1
2
3
4
5
6
7
8
9
10
11
12
13
14
15
16
17
18
19
20
21
22
23
24
25
26
| import {GroupBox,LineEdit} from "std-widgets.slint";
MainWindow := Window{
title: "Main Window";
VerticalLayout {
alignment:start;
padding-left: 25px;
padding-right: 25px;
Text {
font-size: 27px;
font-weight: 700;
color: #6776FF;
}
GroupBox{
title:"lineEdit";
LineEdit {
placeholder-text: "enter text";
}
}
}
}
|
1
2
3
| fn main() {
slint_build::compile("ui/main.slint").unwrap();
}
|
1
2
3
4
5
| slint::include_modules!();
fn main() {
MainWindow::new().run();
}
|
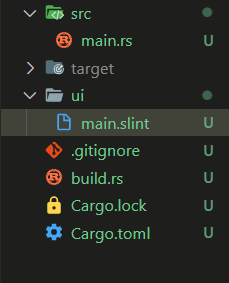
- 建立好的项目文件结构如下:
- 运行
1
| cargo run --target i686-pc-windows-gnu
|
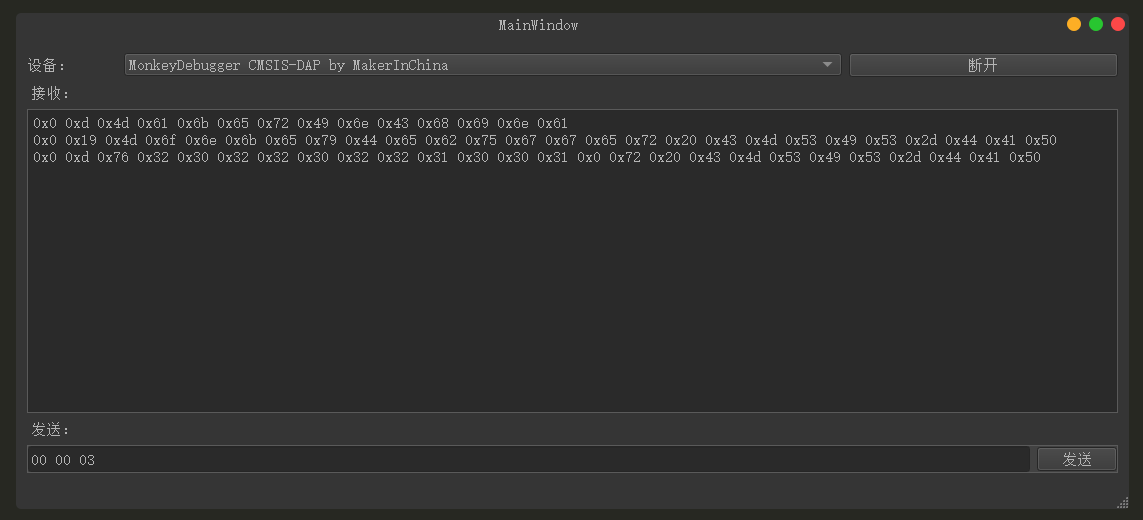
界面显示如下: 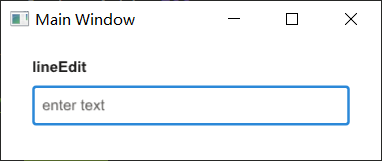
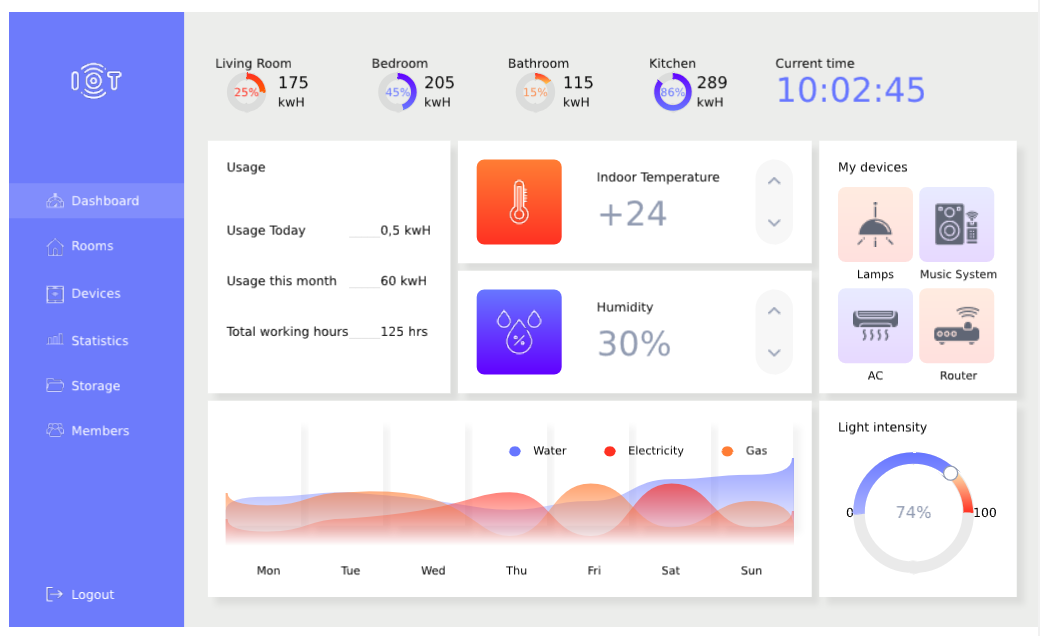
4、参考项目
https://github.com/slint-ui/slint/tree/master/examples/iot-dashboard